

Introduction
Proper fence installation is crucial for UK homeowners seeking to enhance their property’s security, privacy, and aesthetics. A well-installed fence not only serves as a deterrent against potential intruders but also provides a private space where families can enjoy outdoor activities without unwanted attention.
Benefits of Installing a Fence:
- Increased Property Value: Real estate experts agree that a sturdy and attractive fence can boost the market value of a home. Prospective buyers are often willing to pay a premium for properties with secure and well-maintained boundaries.
- Peace of Mind: Knowing that your yard is enclosed gives you peace of mind. Whether keeping pets and children safely within the property or preventing wildlife and trespassers from entering, a good fence offers reassurance.
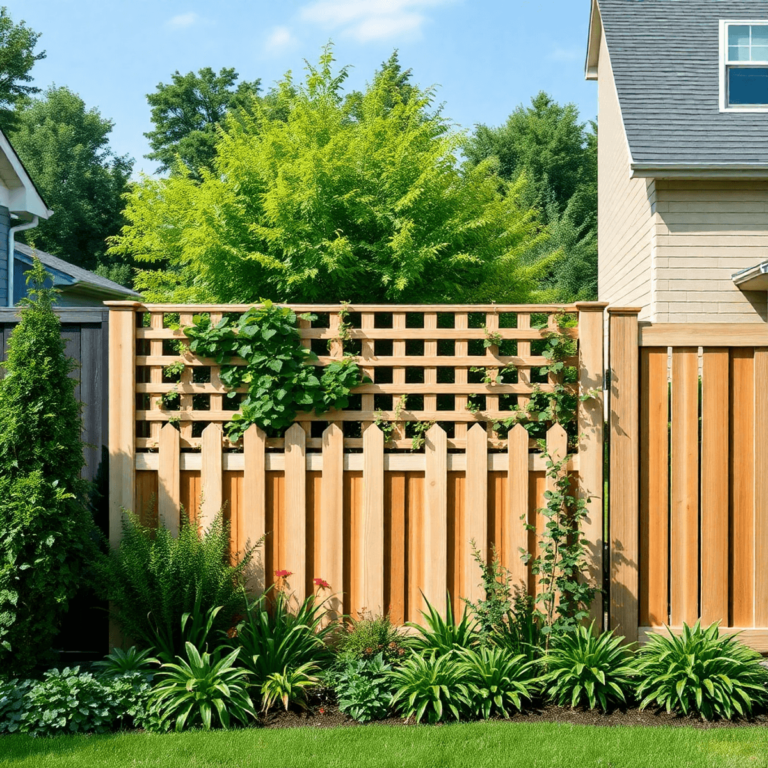
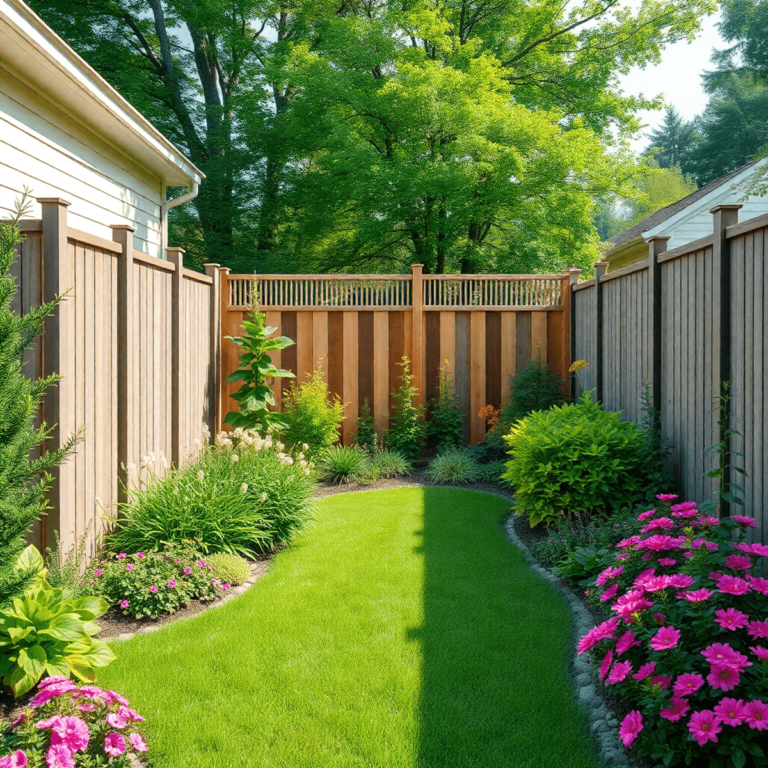
- Aesthetic Appeal: Fences come in various materials and styles, allowing homeowners to choose options that complement their home’s architecture and landscape design. This enhances the overall look of the property while serving functional purposes.
Understanding how to install a fence properly ensures these benefits are fully realized. This comprehensive guide will walk you through each step, providing valuable tips and insights specifically tailored for UK homeowners.
Essential Tools and Materials for Fence Installation
Shovel and Post Hole Diggers: The Must-Have Tools for Digging Sturdy Fence Post Holes
Choosing the right tools for digging post holes is crucial. A shovel is essential for initial soil removal, but a post hole digger—either manual or powered—ensures deeper and more precise holes. For UK homeowners dealing with clay or rocky soil, opting for a powered post hole digger can save considerable time and effort.
Ensuring Level Posts and Straight Panels
Achieving level posts and straight panels is critical for a professional-looking fence. Utilize a standard level to check vertical alignment of posts. Measuring devices like tape measures help maintain consistent spacing between posts, while string lines ensure straight alignment across the entire fence length.
Pry Bar and Electric Breaker: For Removing Obstacles During the Installation Process
Encountering obstacles like rocks or old concrete during installation is common. A pry bar assists in leveraging out stubborn objects, whereas an electric breaker can efficiently break down larger impediments. Always follow safety guidelines such as wearing protective gloves and eyewear to mitigate any risk.
Angle Grinder with Diamond Blade: Useful for Trimming Excess Lengths of Fencing Materials
An angle grinder equipped with a diamond blade is invaluable for trimming excess lengths of fencing materials like metal or stone. This tool allows precise cuts, ensuring each section fits seamlessly. Make sure to handle the grinder with care, using appropriate protective gear to avoid injuries.
Watering Can: Why You Might Need It and How to Use It for Setting Fence Postcrete or Concrete Mix
A watering can may seem unconventional but proves useful when setting fence postcrete or concrete mix. After placing the post in its hole, pour the dry mix around it and then evenly distribute water using the watering can. This method ensures proper hydration without disrupting the mix’s consistency.
Different Types of Fencing Materials and Their Advantages
Selecting the right fencing material depends on your needs:
- Wood: Offers natural appeal and flexibility in design but requires regular maintenance.
- Vinyl: Known for low maintenance and durability, ideal for those seeking long-lasting options.
- Metal: Provides robust security but may need rust protection treatments.
- Composite: Combines aesthetic beauty with durability; it’s eco-friendly but can be costlier upfront.
Regulatory Guidelines for Fence Installation
When planning a fence installation, it’s essential to adhere to regulatory guidelines set by authorities. These guidelines often provide specifications concerning factors such as fence height, setback requirements, and placement near public spaces. Familiarizing yourself with these guidelines, such as those provided by the [Federal Highway Administration](https://highways.dot.gov
Step-by-Step Guide to Fence Installation
1. Marking out the Fence Line
Establishing the perimeter is crucial for an accurate and aesthetically pleasing fence installation. Use a string line or chalk line to mark where your fence will be positioned. This ensures that all posts and panels are aligned properly.
2. Digging Fence Post Holes
Determine the appropriate depth and spacing for your fence post holes. Typically, holes should be one-third the length of the post and spaced about 6-8 feet apart, depending on the type of fence you are installing.
3. Levelling the Ground
A smooth foundation is essential for a stable fence. Remove any debris and level uneven ground using a rake or shovel. Compact the soil if necessary to prevent future settling.
4. Setting the First Post
Securing the first post sets the tone for the rest of the installation. Use quick-setting concrete or Postcrete to secure wooden posts, ensuring they are vertical with a spirit level. For metal posts, you might utilize brackets or anchors designed specifically for metal fencing.
5. Installing Gravel Boards (if applicable)
Gravel boards add stability and durability to your fence by protecting it from soil contact and moisture. Attach them at the base of your fence posts before installing panels or boards.
6. Attaching the Remaining Panels or Boards
Achieving consistent gaps and heights is key to a professional-looking fence. Start from your first post and work your way along, using spacers to maintain even gaps between panels or boards.
7. Strengthening the Fence
Bracing techniques can help withstand strong winds and pressure. Diagonal braces between posts increase structural integrity, especially in areas exposed to high winds.
8. Applying Finishing Touches
Sealants, paints, or stains prolong the life of your fence while enhancing its appearance. Choose products designed for outdoor use to protect against weathering.
Incorporating these steps ensures a robust and visually appealing fence that provides security, privacy, and aesthetic value to your property.
Tips for a Successful Fence Installation
Plan Ahead to Determine the Right Materials and Quantities Needed for the Project
Effective planning is crucial. Start by measuring the area where you will install the fence. Calculate how many panels, posts, and other materials you will need. This preemptive step not only saves time but also ensures you have everything required to complete the project without interruptions.
Choose Quality Over Cost When Selecting Fence Components for Better Long-Term Performance
Investing in high-quality materials may seem costly upfront, but it pays off in durability and longevity. Opt for treated wood to resist rot and insects or vinyl for minimal maintenance. Quality components withstand harsh weather conditions better, reducing the need for frequent repairs or replacements.
Stay Level-Headed (and Level-Bodied) Throughout the Installation Process: Importance of Checking for Consistency at Each Stage
Maintaining level posts and panels is essential for both aesthetic appeal and structural integrity. Use a standard level frequently during installation to ensure each component is perfectly aligned. Consistency at every stage helps prevent issues that can compromise the fence’s stability and appearance.
By following these tips for successful installation, homeowners can achieve a durable, visually appealing fence that meets their security and privacy needs.
Hiring a Professional Fence Installer vs. DIY: Which Option is Right for You?
When it comes to installing a fence, you have two options: hiring a professional or doing it yourself (DIY). Both choices have their advantages and challenges. In this article, we’ll explore the benefits of hiring a licensed and insured contractor as well as the pros and cons of taking the DIY route.
Advantages of Hiring a Licensed and Insured Contractor
Hiring a professional fence installer offers several benefits:
1. Expertise and Experience: Professional fence installers bring years of experience and specialized knowledge. They understand local regulations, soil types, and best practices for various fencing materials. For example, contractors often know how to navigate planning permissions and boundary issues that could complicate a DIY project.
2. Time-Saving: Installing a fence can be labour-intensive and time-consuming. A professional team can complete the project efficiently, freeing up your time for other activities. For instance, a licensed contractor can often finish in days what might take an inexperienced DIYer weeks.
3. Quality Assurance: Licensed and insured contractors offer a guarantee on their work, providing peace of mind. If any issues arise post-installation, these professionals are obligated to address them without additional costs to you.
4. Moisture Control: Professionals are well-versed in implementing moisture control measures during the installation process, which is vital for the longevity of your fence.
Benefits and Challenges of the DIY Route
On the other hand, choosing to install a fence yourself has its own set of advantages and challenges:
Benefits:
- Cost Savings: Taking the DIY route can be more economical upfront as you save on labor costs. This approach allows you to allocate your budget towards higher-quality materials or additional features like decorative elements or enhanced security. Resources such as this guide on saving money while building your own house could also prove helpful.
- Personal Satisfaction: Completing a fence installation on your own can offer a sense of accomplishment. It provides an opportunity to develop new skills and engage in a rewarding home improvement project.
Challenges:
- Time and Effort: DIY projects require significant time investment and physical effort.
- Potential Mistakes: Errors in measurement, digging post holes, or aligning panels can lead to structural issues or increased costs for corrections. However, there are resources available that can help you avoid some common mistakes, like this guide on fixing fence post mix issues.
- Lack of Specialized Tools: Renting or purchasing specialized tools such as post hole diggers or angle grinders adds to the overall expense.
Understanding these perspectives helps homeowners make an informed decision about whether to hire a professional fence installer or tackle the project themselves.
Conclusion
Installing a fence can be a rewarding project that brings added security, privacy, and attractiveness to your property. With the detailed steps and essential tips outlined in this guide, you now have the knowledge and confidence to plan and carry out your fencing project successfully.
Key considerations for your project:
- DIY Enthusiasts: Dive into the fulfilling experience of building your own fence while enjoying the personal satisfaction that comes with it.
- Know Your Limits: For more complex or large-scale installations, it’s wise to consider the expertise of professionals.
Professional Assistance:
For UK homeowners who prefer professional assistance, companies like A Chowns Agricultural Services offer comprehensive solutions tailored to various fencing needs. Their experience ensures high-quality results and peace of mind.
Taking these steps will help you achieve a sturdy, aesthetically pleasing fence that stands the test of time. Whether opting for DIY or professional installation, proper planning and execution are key to success.
FAQs (Frequently Asked Questions)
What are the benefits of proper fence installation for UK homeowners?
Proper fence installation is important for UK homeowners as it provides security, privacy, and aesthetics to their property. It can also increase property value and provide peace of mind.
What are the essential tools and materials needed for fence installation?
Essential tools for fence installation include shovel, post hole diggers, standard level, measuring devices, pry bar, electric breaker, angle grinder with diamond blade, and watering can. Materials may include wood for natural appeal and vinyl for low maintenance.
What is the step-by-step guide to fence installation?
The step-by-step guide to fence installation includes marking out the fence line, digging fence post holes, leveling the ground, setting the first post, installing gravel boards (if applicable), attaching the remaining panels or boards, strengthening the fence, and applying finishing touches.
What are some tips for a successful fence installation?
Some tips for successful fence installation include planning ahead to determine the right materials and quantities needed, choosing quality over cost when selecting fence components, and staying level-headed throughout the installation process by checking for consistency at each stage.
What are the advantages of hiring a professional fence installer?
Hiring a licensed and insured contractor can provide expertise and time-saving benefits. For example, A Chowns Agricultural Services in the UK offers professional services for complex or large-scale installations.
Is DIY an option for fence installation?
Taking the DIY route empowers homeowners to make an informed decision about their project. While it can be fulfilling, it’s important to know your limits and consider hiring professionals for complex or large-scale installations.